Contrast Enhancement
Contrast enhancement is a common operation in image processing. It's a useful method for processing scientific images such as X-Ray images or satellite images. And it is also useful to improve detail in photographs that are over or under-exposed.
The goal of this assignment is to develop a contrast enhancement application that uses GPU acceleration.
On this page, the basic ideas and principles of contrast enhancement using histogram modification are given. We start with the simple case, contrast enhancement for grayscale images. Then, we try to apply the similar method to color images.
A straightforward C implementation is given as reference, which can be used as your starting point. On the server, source code and sample input images are available in /home/5kk70gpu-09/pub/5kk70-assignment-gpu/.
Contents
- Contrast Enhancement for Grayscale Images
- Contrast Enhancement for Color Images
- Information on the reference implementation
Contrast Enhancement for Grayscale Images
A simple method to enhance the contrast of a grayscale image is the histogram equalization.
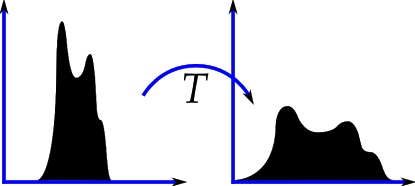
The histogram of an digital image represents its tonal distribution. Histogram equalization effectively spreads out the most frequent intensity values, which results in a better distribution on the histogram. This allows for areas of lower local contrast to gain a higher contrast without affecting the global contrast. The following picture shows the effect of the histogram equalization on the image histogram. More details can be found on the wikipedia page: Histogram equalization.
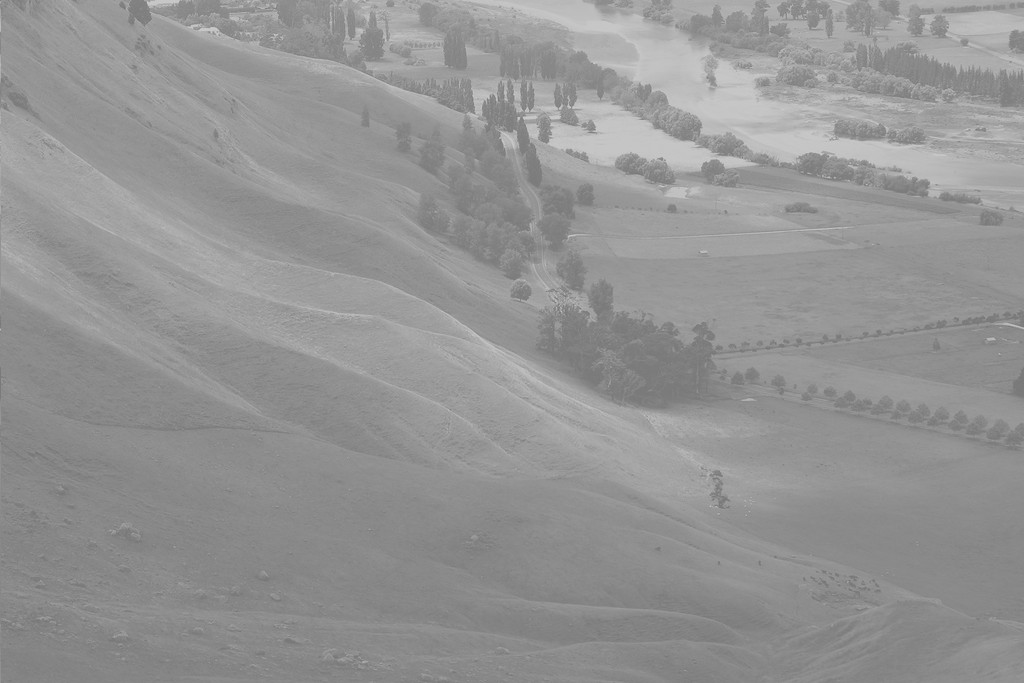
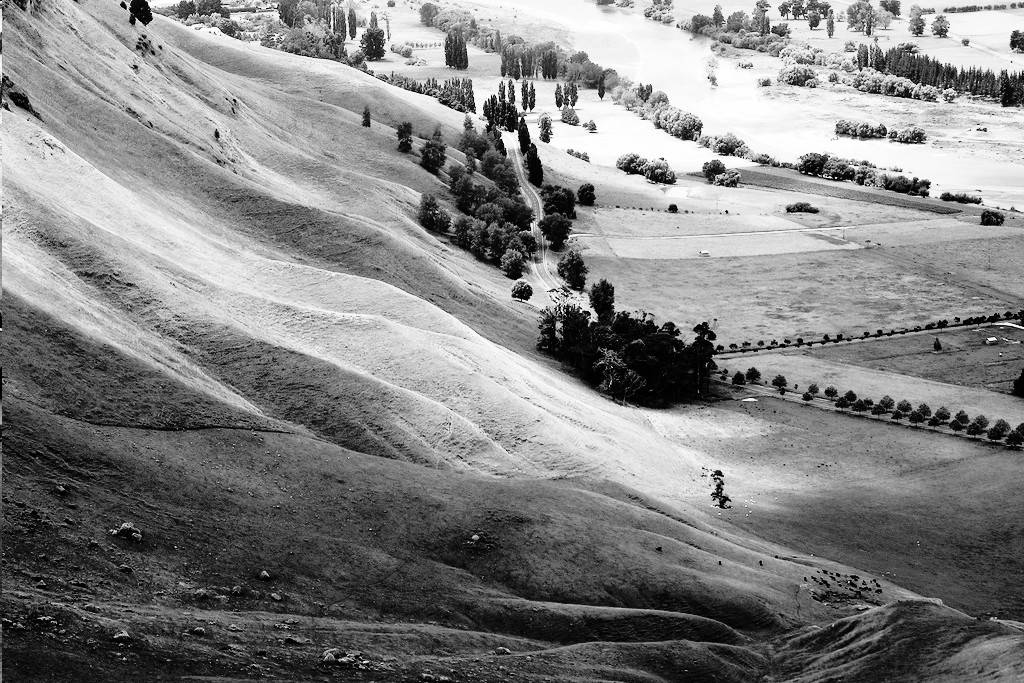
Here is an example of histogram equalization, the left image is the original image and the right one is the result after applying histogram equalization.
Histogram equalization can be performed in the following steps:
- Calculate the histogram of the input image;
- Calculate the the cumulative distribution of the histogram;
- Use the cumulative distribution to construct a look-up table that maps each gray value to the equalized one (this step can be combine with the last one);
- Update the image using the look-up table constructed in the last step.
A simple implementation of histogram equalization is provided in hist-equ.zip.
Contrast Enhancement for Color Images
Normally color images are stored in RGB color space. At the first glance it seems simple to apply histogram equalization to a color image: just do it on each channel. However, applying histogram equalization separately on each channel of a RGB will probably destroy the balance of different color components and result in poor image quality. Here an example is given. The image on the left is the input. The image on the right is the result of applying histogram equalization on RGB.
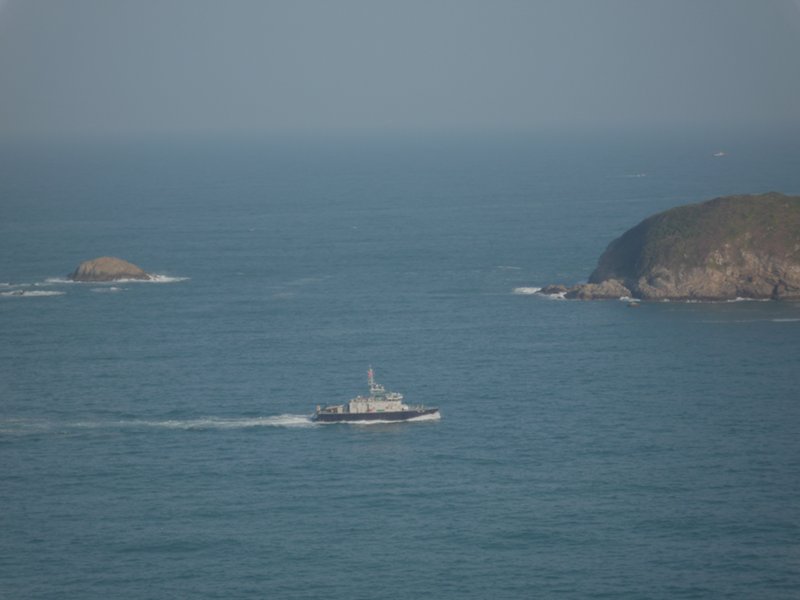
A solution to this problem is first convert the image to a color space that has a separate luminance channel, e.g. the HSL/HSV color space, the YUV color space, or the Lab color space, then apply histogram equalization to the luminance or value channel. The image below is the result of applying histogram equalization on HSL.
We can see that first perform the color conversion and then apply histogram gives a better result.
Information on the reference implementation
The source code on this page uses only standard C libraries, therefore it is platform independent. You can compile it with a normal C/C++ compiler (e.g. gcc or VC). Both the implementation for grayscale and for color images are given. But you should focus on the color version since the grayscale version just uses a subset of the functionality.
The main files (main.cpp) contain some CUDA stuff (timer related). If you have CUDA SDK installed in your environment, then you can copy the project folders to the path of the sample projects of the SDK (for release 2.3 it's path_to_cuda_sdk/C/src) and run make. By default the executables are put in (for release 2.3 it's path_to_cuda_sdk/C/bin/your_platform_type/release/). When you implement the CUDA part, just add the file names of the new files to the corresponding places in the Makefile.
Alternatively, you can remove the CUDA related part in the code and just compile the source codes in any environment you prefer.
Some remarks on running the application:
- The application uses pgm (for grayscale images) and ppm (for color images) for image I/O. By default the file name of the input file is in.pgm/in.ppm.
- Since the size of the ppm/pgm is too big, we put some input images in JPEG on this page. Please convert them to the ppm/pgm format by yourself (you can use software like GIMP or xnview to do that).
- After converting a image, remember to delete all the comments (lines start with '#') in the file header (a text editor can do that), otherwise the IO functions cannot read it correctly.
On the server, source code and sample input images are available in /home/5kk70gpu-09/pub/5kk70-assignment-gpu/.